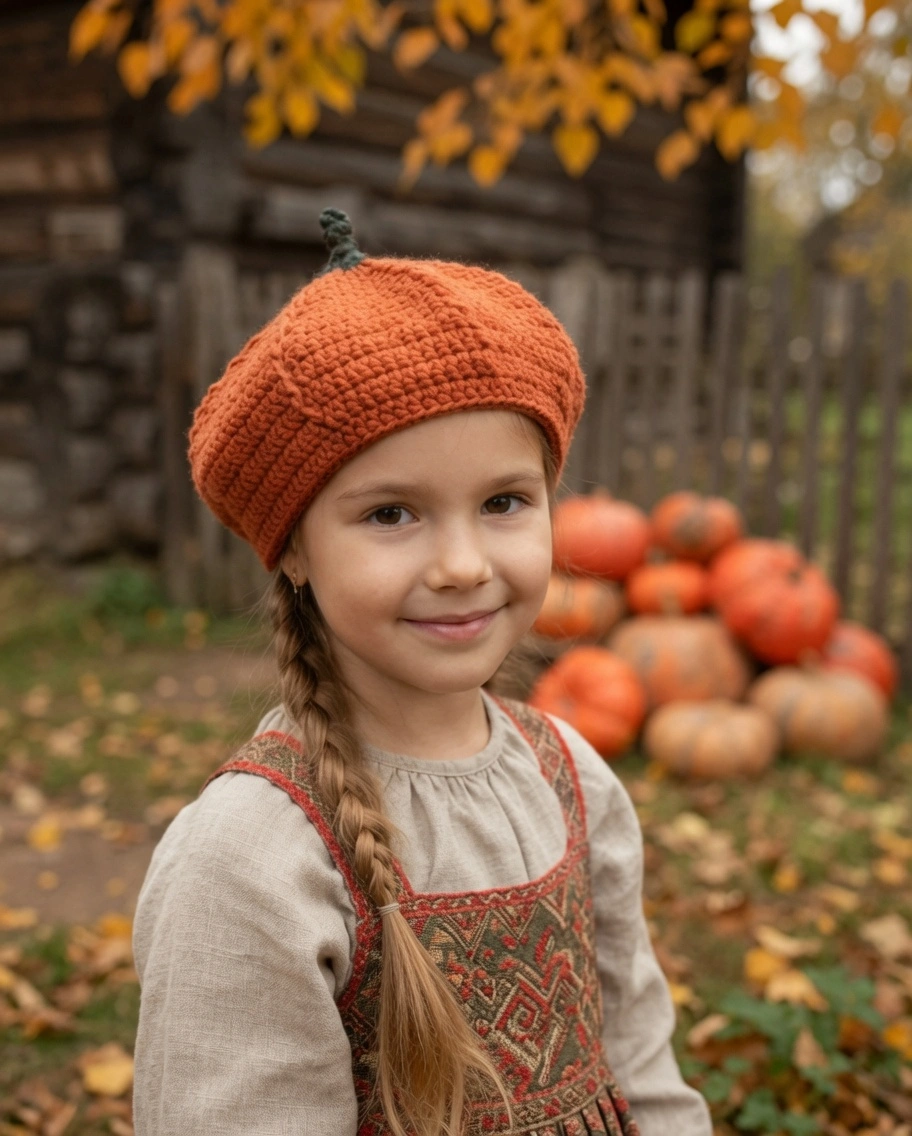
There is nothing quite like a chic, textured beret to elevate your autumn wardrobe, and this pumpkin version brings a festive, whimsical twist to a classic silhouette. A pumpkin-shaped hat is a fun and incredibly cozy way to celebrate the fall season, offering a soft, round profile that looks just like your favorite seasonal gourd.
This free crochet pumpkin beret hat pattern is specially designed with little ridges that mimic the natural lines of a pumpkin, finished off with an adorable three-dimensional stem on top. Because it relies on simple increases and front post stitches to build its shape, it is a highly approachable project for advanced beginners. It works up quickly in just one day, making it the perfect project to kick off your fall crafting season. As the weather cools down, it pairs beautifully over a simple easy off-the-shoulder crochet crop top or layered under an everyday crochet sweater vest for maximum cozy vibes.
Materials Needed
- Worsted weight orange yarn (for hat body)
- Worsted weight green yarn (for stem)
- Crochet hook (size suited to gauge, e.g., 4.0 mm [G])
- Scissors
- Yarn needle
- Stitch marker
Abbreviations Used
- ch = chain
- sl st = slip stitch
- sc = single crochet
- dc = double crochet
- fpdc = front post double crochet
- BLO = back loop only
This pattern uses USA crochet terminology
Special Stitches
Front Post Double Crochet (fpdc): Yarn over, insert hook from front to back to front around the post of indicated stitch, yarn over and pull up a loop (keep loop long, as for a dc), (yarn over, pull through 2 loops) twice.
Double Crochet Two Together (dc2tog): Yarn over, insert hook into next stitch, yarn over and pull up a loop, yarn over and pull through 2 loops (2 loops left), yarn over and insert into next stitch, yarn over and pull up loop, yarn over and pull through 2 loops (3 loops on hook), yarn over and pull through all 3 loops.
Pattern Instructions
Crown & Body
Stem (with green yarn):
Make a magic ring, ch 3 (counts as dc), and work 14 more dc (total 15 dc) into magic ring. Tighten the ring and sl st to top of ch 3 to join. Fasten off green yarn.
Pumpkin Beret Body (switch to orange yarn):
Attach orange by inserting hook in any stitch from previous round, pull up a loop, and ch 3 (counts as dc).
Round 1 (Increase): Work 1 more dc into the same stitch (2 dc in same st). 2 dc in each st around for 2 consecutive sets. Next stitch: Work fpdc around the post of the corresponding previous round stitch. Repeat: [2 dc in ea of next 2 sts, fpdc in next st] all around. Sl st to top of ch 3 to join. (Stitch marker helpful)
Round 2 (Increase): Ch 3, dc into the same stitch. Next 2 stitches: dc in each. Next stitch: 2 dc in same stitch. Next: fpdc around prev fpdc. Repeat: [2 dc in 1 st, dc in next, dc in next, 2 dc in next, fpdc in next] all around. Sl st to join.
Round 3-10 (Continue Increasing, Forming Triangles): Continue with the triangle style: 2 dc in first st of “segment” or triangle, dc in each stitch across the triangle, 2 dc in last st of the triangle, then fpdc (repeat). Each round the “triangle” increases in width between fpdc. End each round with sl st to join. By Round 10, the fabric may appear curly at the edge (this will fix as you decrease).
Rounds 11 (No Increase, Maintain Shape): Ch 3, dc in each stitch; when you come to a fpdc, work a fpdc. Sl st to join. (The sides flatten out now.)
Rounds 12-15 (Decrease): Ch 2 (acts as part of a decrease), dc in the next st (this counts as a dc2tog). Dc in each st to last 2 sts before next fpdc, work dc2tog. Work fpdc around fpdc as usual. Repeat decrease pattern for a total of 4 rounds, shaping down the beret.
Brim
Brim (with orange yarn):
After 15th round, ch 1. Work 1 sc BLO in every stitch around. Sl st to join. Repeat 2 more rounds of sc BLO for a total of three rounds.
Fasten off and weave in all orange ends.
Pumpkin Stem
Pumpkin Stem (with green yarn)
Ch 2. Place 5 sc in the 2nd chain from the hook. Use a stitch marker to keep track of rounds. For Rounds 2–5: Work 1 sc in each st around (spiral, do not join), keeping track with marker. Move the marker up for each round. After round 5, sl st to the first sc to join. Leave a long tail for sewing. Remove marker and fasten off.
Assembly & Finished Size
Finishing: Weave in all loose ends on the beret and brim securely. Thread the green stem tail with a yarn needle. Center the pumpkin stem at the top of the beret and sew in place, going back and forth through each crochet stitch for a firm hold. Hide any remaining tails inside the hat, weaving horizontally three times to secure. Optional: Steam block lightly for shape.
Tips
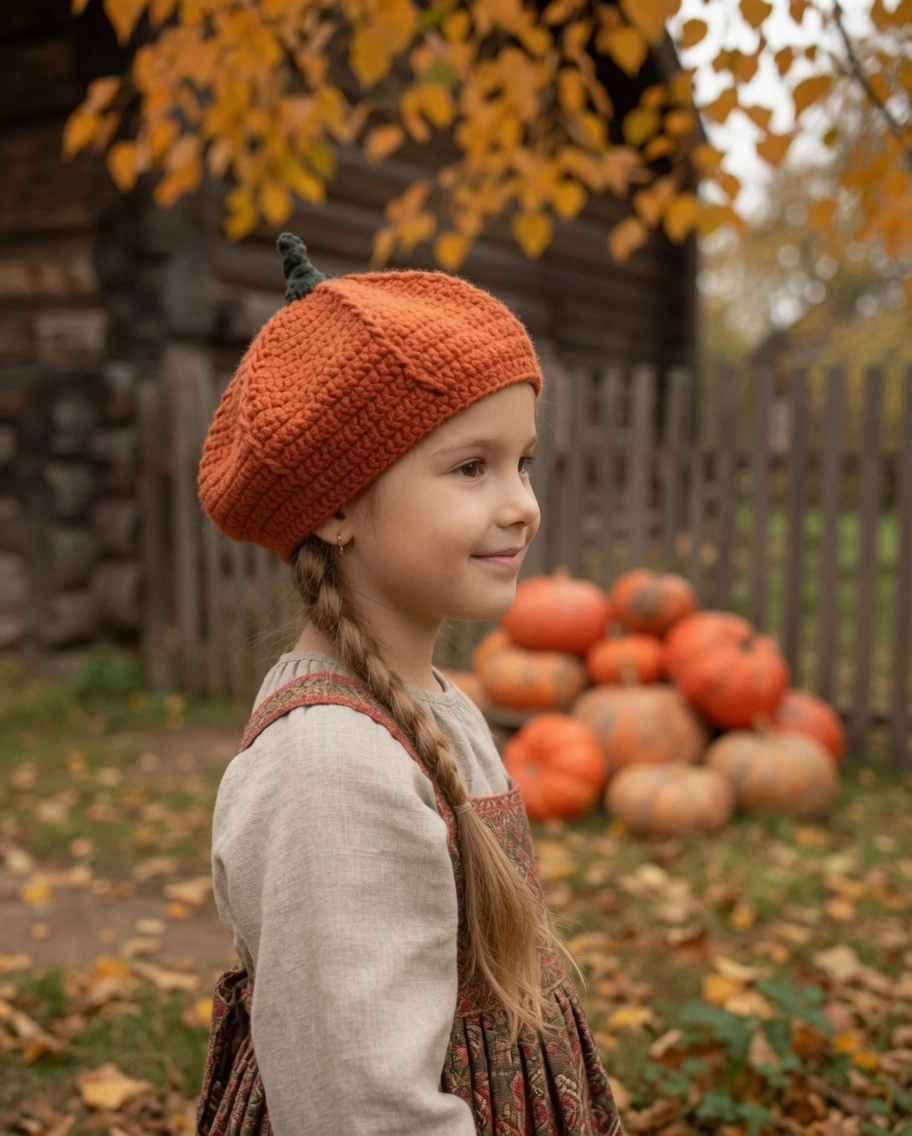
- Understanding the Curl: Don’t panic if your hat looks more like a giant bowl during Rounds 3 through 10! This curling is a natural part of the geometric increase process. Once you hit Round 11 and begin the dc2tog decreases in Round 12, the fabric will naturally flatten out and drape beautifully into that classic beret slouch.
- Customizing Your Colors: While classic orange is the traditional choice, this pattern looks stunning in autumnal yellows, creamy whites, or even a deep, sophisticated green.
- Expanding Your Halloween Wardrobe: A pumpkin beret is just the beginning of your festive crafting. If you love making holiday accessories, be sure to check out this free crochet witch hat pattern or this adorable small crochet witch hat to complete your spooky season look.
FAQ
Can I make this hat smaller for a child? The written pattern yields a teen/adult size (approx. 21-22” circumference). To make it smaller, simply work fewer increase rounds before moving to the no-increase round (Round 11), and adjust your decrease rounds accordingly to match your new stitch count.
What if my gauge is off? If your hat is turning out too small or too large, adjust your hook size. If you are getting too many stitches per 4 inches, go up a hook size. If you are getting too few, go down a hook size.
Do I have to use worsted weight yarn? Worsted weight is recommended for the perfect drape and stitch definition, but you could use a DK weight yarn with a smaller hook for a lighter, finer beret, or a chunky yarn with a larger hook for an oversized, extremely cozy winter version.
Conclusion
Congratulations on finishing your pumpkin beret hat! This cozy, textured accessory brings a touch of festive autumn magic to any outfit. Share your finished beret in the comments below!