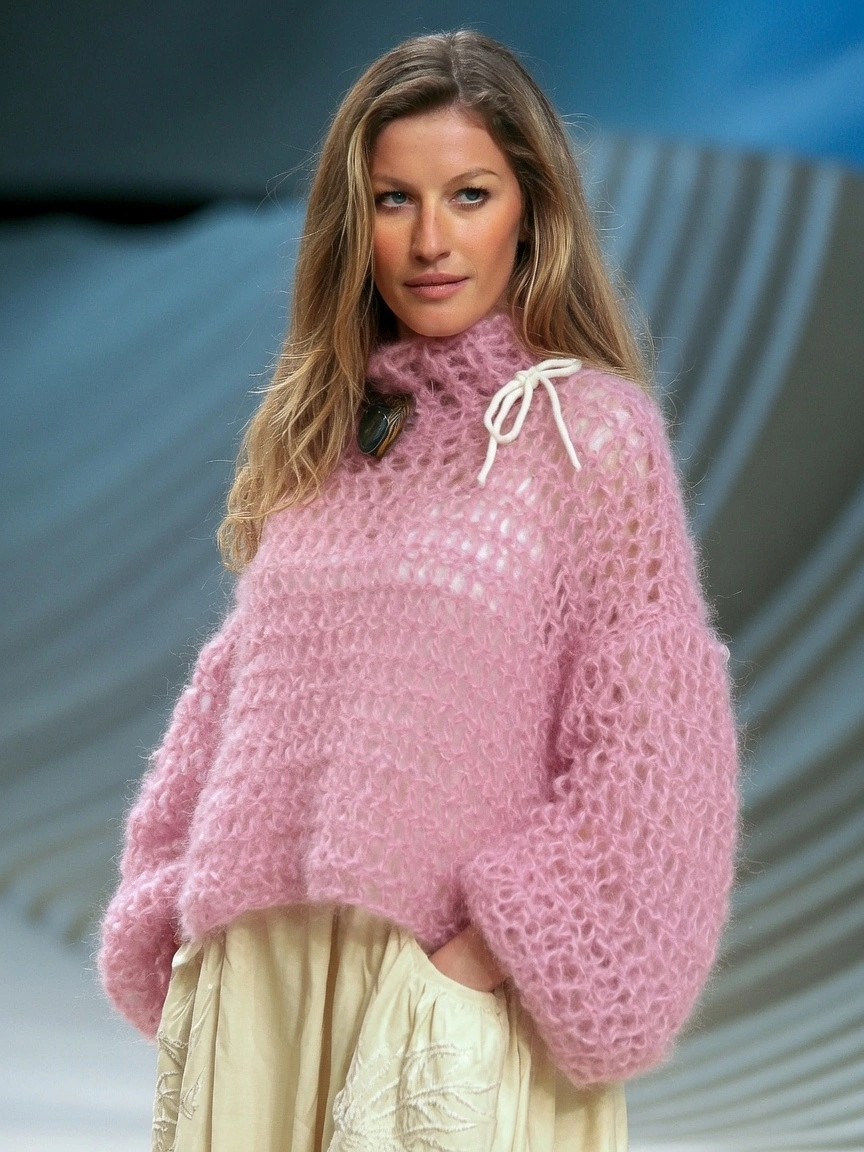
There is nothing quite like wrapping yourself in a cloud of soft, fluffy mohair. This easy fluffy mohair sweater pattern brings that cozy, dreamy aesthetic to life with a beautifully customizable fit. Whether you want a cropped look or a flowing turtleneck, this design is entirely in your hands.
This is a fantastic project for intermediate crocheters who want to dip their toes into garment making without the stress of strict gauge matching. Because it’s designed to be oversized and highly adaptable, you can use any yarn and hook combination you already have in your stash for a perfectly relaxing weekend project.
Materials Needed
- Yarn of your choice (approx. 230g/4.5 skeins for a longer version, or 173g/3.33 skeins for a cropped version)
- Crochet hook of your choice (a 15mm hook was used for the sample to achieve a “mesh-y” look)
- Sharp scissors
- Darning needle (bent tip recommended for easy seaming)
- Stitch markers
Abbreviations Used
- Ch = Chain
- FDC = Foundation Double Crochet
- FTC = Foundation Turning Chain
- St(s) = Stitch(es)
- Dc = Double Crochet
- Dc2tog = Double Crochet 2 (stitches) Together/Double Crochet Decrease
- Hdc = Half Double Crochet
- Hdc2tog = Half Double Crochet 2 (stitches) Together/Half Double Crochet Decrease
- Sl st = Slip Stitch
- Sk st = Skip a stitch
Pattern Instructions
This pattern uses USA crochet terminology.
Back Panel
Row 1: Ch/Foundation DC (method linked above) as wide as you want for the drop of your shoulder (refer to the picture down below).
If you are working a chain, after you have your chain as long as you desire, ch 2 and then work 1 dc into the 3rd ch from the hook (the ch 2 NEVER counts as a stitch in this pattern) and then work 1 dc into each ch until the end of the ch.
NOTE: I FDC a total of 35 stitches, but that number may be different for you depending on the yarn, hook and size you are making.
Row 2: Turn your work and ch 2/Work a Foundation Turning Chain (method linked above), work 1 dc into each st until the end of the row.
NOTE: If you are chaining 2, then the first stitch you will be working in is the very first stitch of the row, the same stitch you chained from (again, the ch 2 DOES NOT count as a stitch of the row). If you are working a FTC, then this DOES count as your first stitch of the row.
Row 3: Repeat Row 2 until you have as many rows as you want for the length of your sweater. You can can roughly see how long it will be by holding it up to you when you have made as many rows as you think you may want, and then you can leave it as is, take out or add many rows as you see fit! (yes, I know that this is the back panel, but holding it up to your front will work just fine to determine the length)
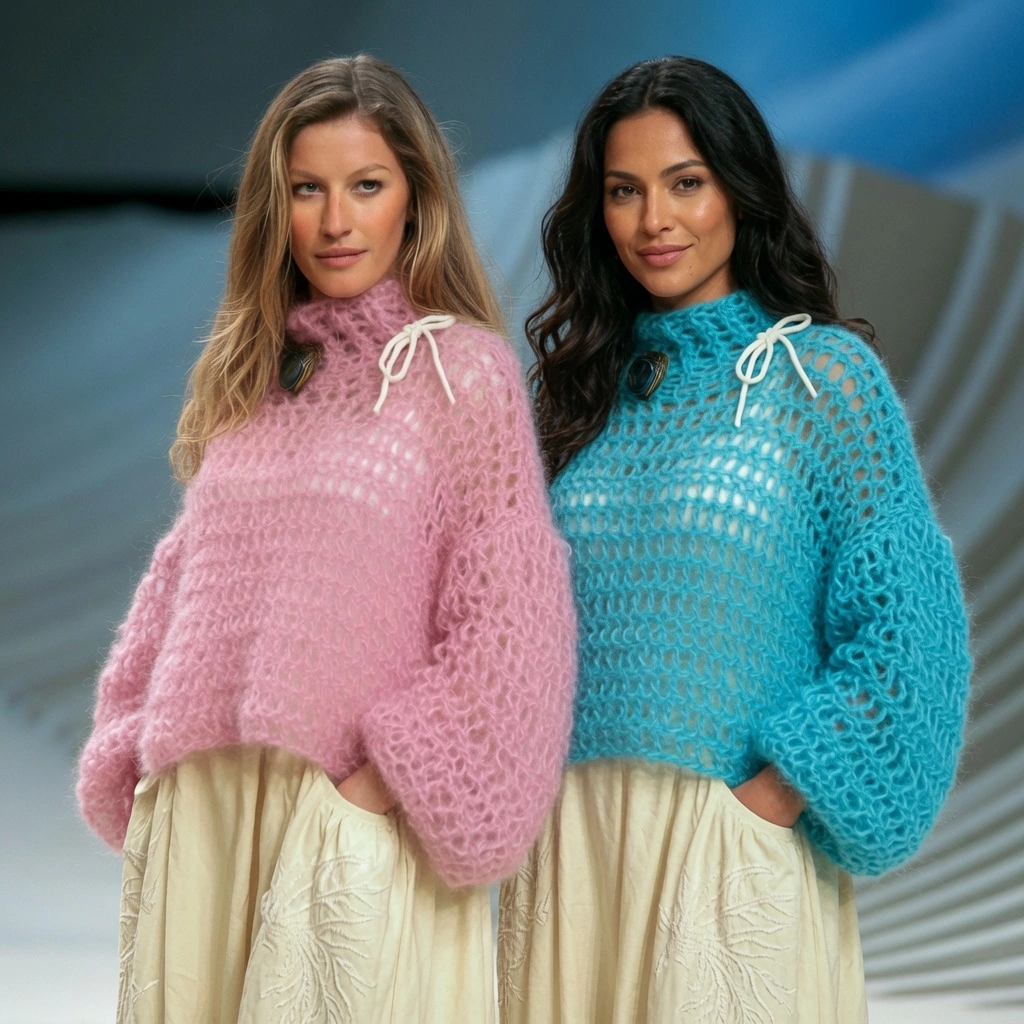
NOTE: I crocheted a total of 17 rows/20″ inches long for the pink sweaters back + front panels, and 11 rows/13″ inches long for the purple sweaters back + front panels.
Fasten off after you have reached the desired length for your panel.
Front Panel
Row 1: Ch/FDC as many chains/sts as you did for the back panel.
You will be making the front panel almost the same as the back panel, EXCEPT you will be crocheting 3 rows less (if you are using the same yarn, hook, gauge as me) or approx. 3″ inches less than you worked for the back panel.
Shoulders
Hold your panel up to you, and then with stitch markers, roughly map out where you want your neck hole/shoulders to be. (refer to the picture below).
I have 35 stitches total. I left 5 sts (approx. 5″ inches) in middle for my neck hole and then 15 sts on either side for my shoulders.
First Shoulder
NOTE: The first decrease row for the first shoulder will have the decrease worked at the end of the row/in the last 2 sts
For the next 3 rows/3″ inches: Turn your work and ch 2/FTC, work 1 dc into each st UNTIL you come to the last 2/first 2 sts nearest to the neck hole, dc2tog/dc dec the last 2/first 2 sts.
Depending which side of your work you’re on, you will ALWAYS be decreasing at the beginning or the ending of each row. So you will ALWAYS be decreasing either the first 2 or the last 2 stitches (you will only be decreasing on the side nearest to the neck hole).
NOTE: With each decrease row, you should only be decreasing by 1 stitch.
After you finish with the first shoulder, fasten off.
Second Shoulder
Starting on the other side of your neck hole, attach your yarn to the stitch nearest to the neck hole.
NOTE: The first decrease row for the second shoulder will have the decrease worked at the beginning of the row/in the first 2 sts.
For the next 3 rows/3″ inches: Turn your work and ch 2/FTC, work 1 dc into each st UNTIL you come to the last 2/first 2 sts nearest to the neck hole, dc2tog/dc dec the last 2/first 2 sts.
After you finish with the second shoulder, fasten off.
Sleeves
Row 1: Ch/FDC as many chains/sts as wide as you want for the width of your sleeves.
This can really be as wide or as narrow (but not too tight, because you don’t want it to be uncomfortable) as you want it to be (refer to the picture below).
I worked a total of 25 stitches. This is nice, big and flowy for me, as I am going for a more oversized look.
NOTE: Keep in mind where your sleeve will start so you can determine how long to make it. You can guesstimate this pretty well by seeing where the drop of shoulder is from one of your front/back panels.
I know mine will start around the middle of my upper arm.
Now from here, you have 2 options for the sleeves.
Option 1 (wide, bell-like sleeve): Crochet as many rows as you want for the length of your sleeve, for a nice and wide, flowy sleeve, OR
Option 2 (balloon sleeve): Crochet as many rows as you want until you are about 1″ inch shy of where you want to stop for the length of your sleeve and then follow the next 2 rows…
I worked 14 rows for my pink sweater and 9 rows for my purple sweater before working the next 2 decrease rows. (16 rows/19″ inches total per pink sleeve and 11 rows/13″ inches total per purple sleeve)
Decrease Row 1: Turn your work and ch 2/FTC, and then Dc2tog/Dc Dec in each stitch until the end of the row.
NOTE: If you sleeve is a lot more narrow than mine, making this many decreases may make the hand opening too small. If this is the case, work less decreases by alternating between a decrease and a normal dc every few stitches
Decrease Row 2: Turn your work and ch 1, *work 1 hdc, then hdc2tog/hdc dec, *repeat alternating between a normal hdc and a hdc dec until the end of the row.
NOTE: If your sleeve is decreased enough and will be too tight if you dec more, then work normal hdc and no hdc decreases for “Decrease Row 2”.
Fasten off.
Repeat for second sleeve.
Turtleneck Ribbing
Attach yarn into any of the stitches around the neck hole and ch 1.
Work a round of sc evenly around the neck hole (this will make it easier for working your ribbing). When you come to the sides of the dc posts, work 2 sc into the side of each dc post (e.g. if you have to work into the sides of the next 3 dc, work 2 sc into each dc post for a total of 6 sc across those 3 dc.)
Sl st into the first sc of that round.
NOTE: You can make your ribbing as tall or short as you want it. Mine is going to be 8 sts/4″ inches wide (folds to a mock neck of about 2″ inches wide).
Ribbing: Ch 9, sc into the 2nd ch from the hook, sc in remaining 7 ch, work 2 sl sts into 2 of the sc from the previous round, turn your work, skipping the sl sts you just made and *sc blo into the next 8 sts, turn your work, ch 1 and sc blo in to next 8 sts, work 2 sl sts into 2 of the sc from the previous round, turn your work, *repeat this until you have no more sc from the previous round to work your ribbing in.
Fasten off and leave a fairly long tail to sew both ends of your ribbing together.
I used the “whip stitch” to seam the ribbing together, but you can use whatever seaming method you want.
Assembly
Seam your front and back panels together along the sides, leaving an opening that matches the width of your sleeves. Attach the sleeves to the body panels. Weave in all your ends.
Tips
Since this pattern is highly customizable, don’t be afraid to play with different yarn weights to get the exact drape you want! If you are looking for more warm-weather garment inspiration, check out our Easy Summer Scallop Crochet Tank Top. For a cozy layered look, the Everyday Crochet Sweater Vest Pattern is a fantastic choice. Or, if you love the breezy, oversized feel of this sweater, you will absolutely adore the Easy Off-the-Shoulder Crochet Crop Top. Remember to use your stitch markers to keep track of your rows!
FAQ
Can I use a different yarn? Yes! You can use any yarn you like. Just adjust your hook size accordingly to get the drape and fit you prefer.
Does the chain 2 count as a stitch? No, in this pattern, a chain 2 at the beginning of a row does not count as a stitch. However, if you use the Foundation Turning Chain method, that does count as your first stitch.
What size is this sweater? The sample is designed to be very oversized (a size XS/S wearer wearing a size L/XL), making it highly forgiving and beautifully customizable for any body type.
Conclusion
Congratulations on creating your fluffy mohair sweater! This perfectly customizable, cloud-like design makes a stunning addition to your handmade wardrobe. Share your finished creation in the comments below!