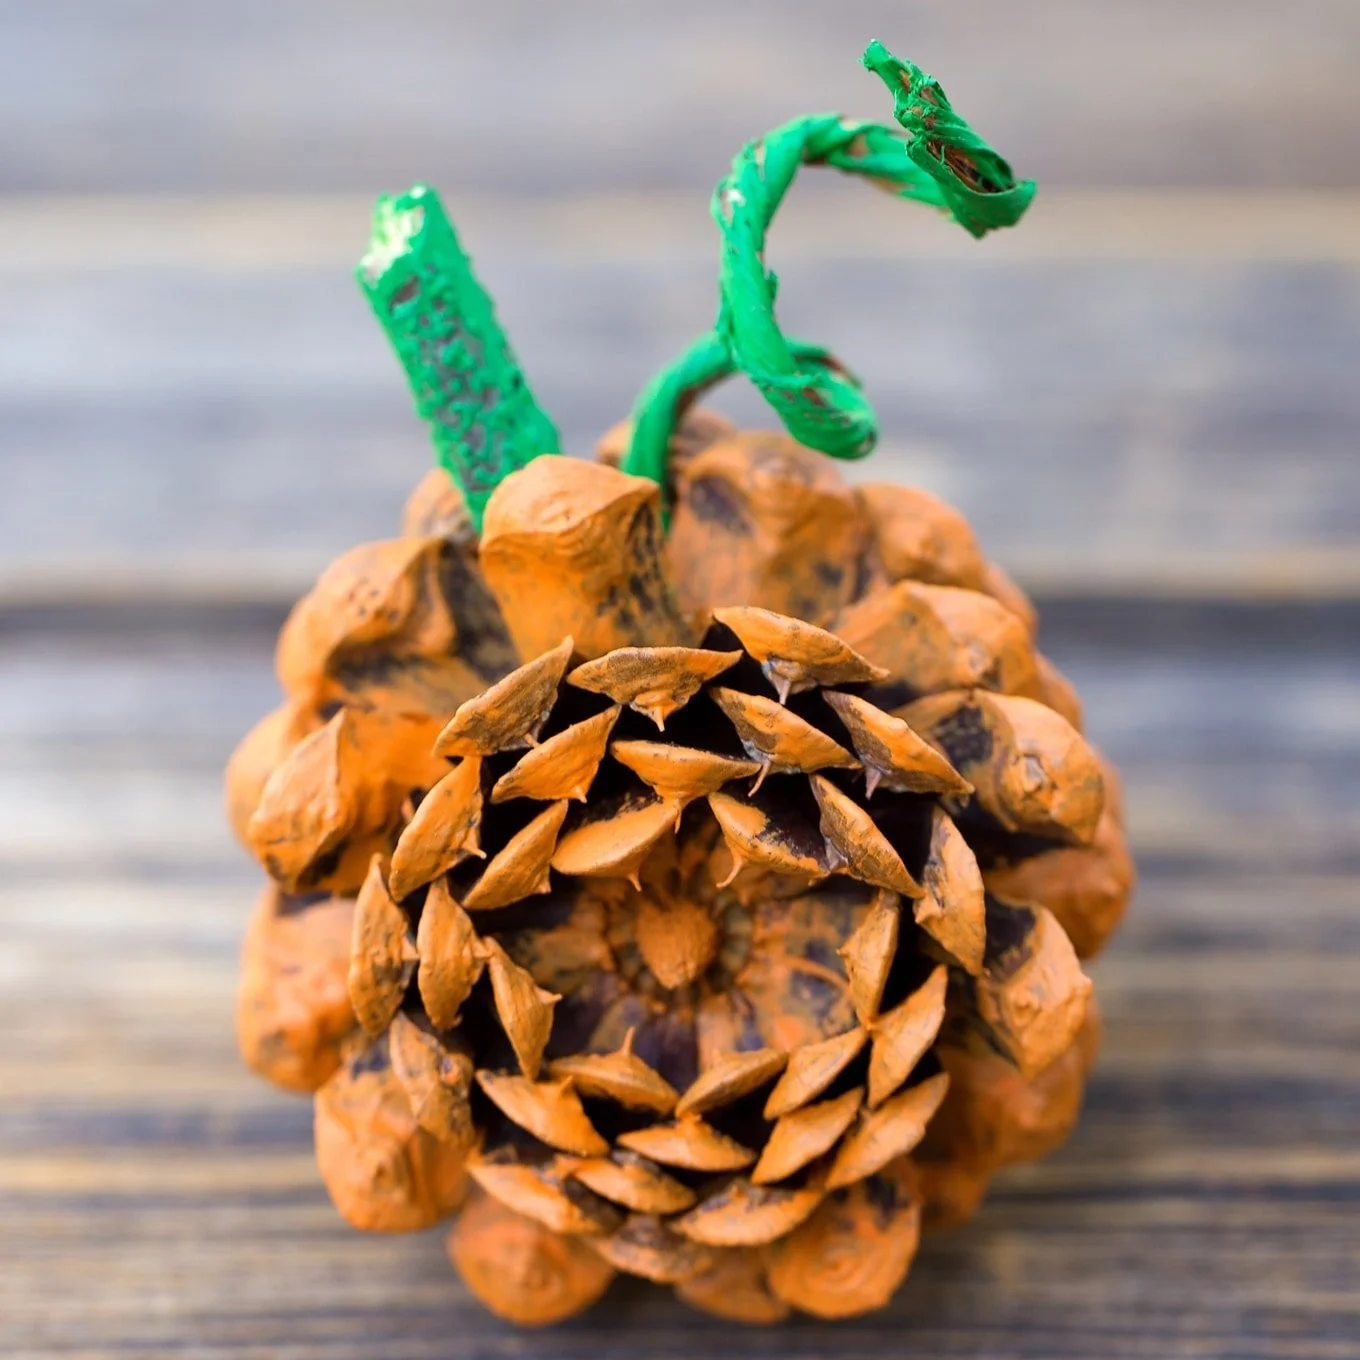
Creating seasonal decorations can bring warmth and cheer to any home, and one delightful and easy DIY project you can try is the Pine Cone Pumpkin Craft. This easy craft combines natural materials with creative fun, making it an exceptional choice for handmade gifts, family activities, or budget-friendly home decor. In this article, we’ll guide you through the process of creating unique pine cone pumpkins, perfect for autumn celebrations and other seasonal decorations.
WHY YOU WILL LOVE THIS Pine Cone Pumpkin Craft
You will enjoy making this craft because it is not only fun but also straightforward. The Pine Cone Pumpkin Craft uses simple materials and can be completed in a short amount of time. Here are some reasons why you will love this project:
- Easy for Beginners: This craft is beginner-friendly, even for those without previous crafting experience.
- Uses Simple Materials: You only need a few basic supplies, many of which might already be at your home.
- Budget-Friendly: This is an easy DIY project that won’t break the bank—perfect for crafting on a budget!
- Quick to Make: You can create your pine cone pumpkins in under an hour, making it a great choice for a quick weekend activity.
- Great for Home Decor: Once complete, these charming pumpkins can enhance your seasonal decor.
- Easy to Customize: You can personalize your pumpkins with different colors and sizes to suit your style.
PROJECT DETAILS
Skill Level
Beginner. This craft is straightforward and accessible to all skill levels.
Estimated Time
About 30-45 minutes. This includes drying time for the paint.
Approximate Cost
Low cost, typically between $5 and $10 depending on materials you may already have.
Best For
This project is perfect for families, craft enthusiasts, and anyone looking to make seasonal decorations.
Project Type
DIY Home Decor. It’s suitable for fall decorating or as a handmade gift.
TOOLS AND EQUIPMENT NEEDED
Paintbrushes
These are used to apply the paint to the pine cones and sticks.
Wire Cutters
Wire cutters are essential for cutting the naturally wired wire into pieces for the pumpkins’ vines.
Hot Glue Gun (Optional)
This is useful for securing pieces together, where added strength is needed.
MATERIALS
Pine Cones
The main component of this craft, pine cones will serve as the body of your pumpkins.
Sticks
These will become the pumpkin stems. You can break them into smaller pieces for customization.
Orange Acrylic Paint
This paint will be used to color the pine cones, giving them that classic pumpkin look.
Green Acrylic Paint
Use this for painting the sticks to resemble pumpkin vines.
Naturally Wired Wire
This allows for the creation of curled vines atop the pumpkins.
Wire Cutters
These are needed to cut the wire into manageable lengths.
Hot Glue (Optional)
If you want extra stability, a hot glue gun can be used to secure the wire or stick in place.
HOW TO MAKE Pine Cone Pumpkin Craft
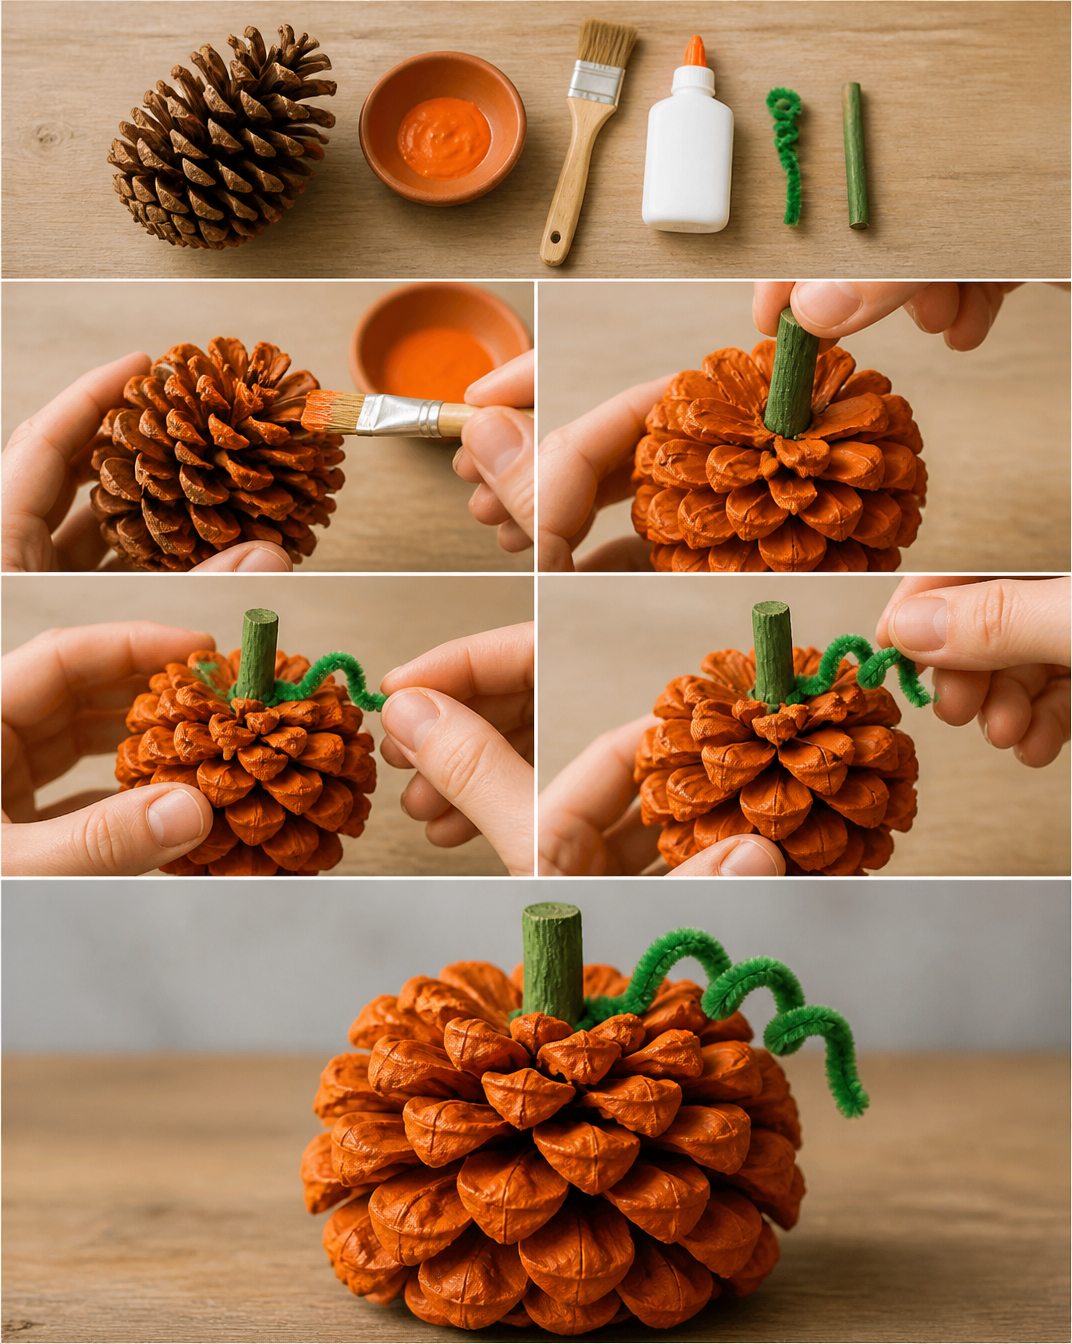
Step 1: Gather and Paint the Pine Cones
Begin by gathering all your supplies and inviting your children or friends to join the fun! Start by painting the pine cones in orange using paintbrushes to give them a vibrant pumpkin appearance. Make sure to cover them evenly and let them dry completely.
Step 2: Prepare the Sticks
While the orange paint is drying, take some sticks and break them into 3-5 inch pieces. These pieces will serve as the stems for your pumpkins. Paint these sticks with green acrylic paint to mimic pumpkin vines. Set them aside to dry.
Step 3: Cut the Naturally Wired Wire
Take the naturally wired wire and cut it into 4-5 inch lengths using the wire cutters. You will need several pieces for the vines on top of your pumpkins.
Step 4: Curl the Wire
Once the wire pieces are cut, give them a fun curl. You can do this by wrapping each piece around your finger, a stick, or a pencil to create a whimsical vine shape.
Step 5: Assemble the Pumpkin
Once everything is dry, it’s time to assemble your pumpkin! Gently press the painted stick into the top of the pine cone to secure the stem in place.
Step 6: Attach the Vines
Take the curly wire pieces and press them into the top of the pine cone, arranging them creatively to resemble vines. If you want added hold, use a little hot glue at the base of each wire piece to secure them further.
Step 7: Showcase Your Creation
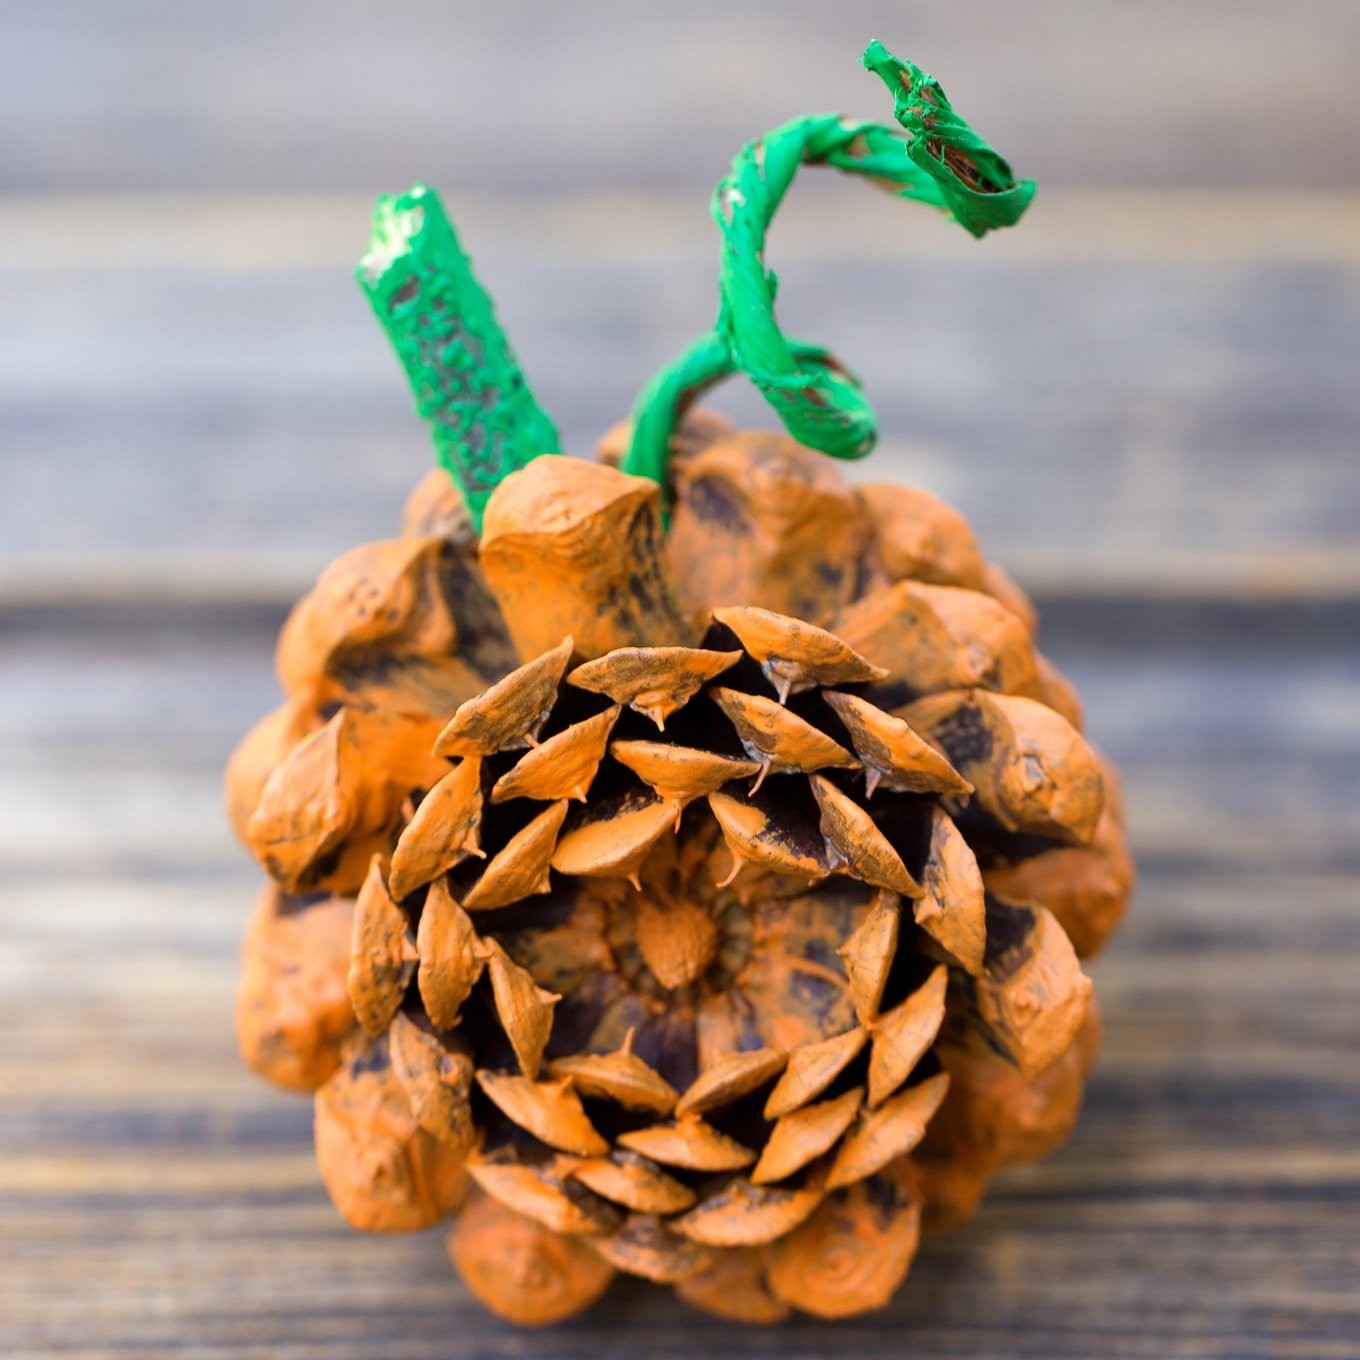
Your Pine Cone Pumpkin craft is now complete! Find a special spot to display your handmade decor, like a table centerpiece or a festive shelf.
TIPS AND TRICKS
- Choosing Materials: Look for pine cones in various sizes for unique pumpkins.
- Painting: For a smoother finish, consider using spray paint over a brush for the pine cones.
- Avoiding Common Mistakes: Ensure you let each layer of paint dry completely before moving to the next step. This prevents smudging.
- Making the Project Easier: Simplify by using pre-painted materials like faux pumpkins if you’re short on time.
- Getting a Better Finish: Use glossy acrylic paint for a lustrous pumpkin finish.
- Saving Money: Craft with natural materials from your backyard to minimize costs.
- Making the Craft Last Longer: To protect your finished pumpkins, consider a light spray of a clear sealant if they’ll be displayed outdoors.
- Working Safely: Use the hot glue gun carefully to prevent burns, and always supervise children with crafting tools.
VARIATIONS AND CUSTOMIZATION IDEAS
- Different Colors: Experiment with different shades of orange or even non-traditional colors like teal or purple for a unique look.
- Various Sizes: Use small, medium, and large pine cones to create a group of pumpkins for display.
- Patterns: Try adding polka dots or stripes with the paint for more visual interest.
- Fall Accents: Decorate your pumpkins with small artificial leaves or acorns to fit the fall theme.
- Seasonal Versions: Change up the colors or embellishments to transition your pumpkins from Halloween to Thanksgiving.
- Personalized Versions: Add names or messages to the pumpkins using paint pens or stickers for a customized touch.
Pine Cone Pumpkin Craft FAQ
How difficult is the Pine Cone Pumpkin Craft?
This craft is beginner-friendly and suitable for all skill levels. It is particularly easy for children.
What materials do I need?
You will need pine cones, sticks, orange and green acrylic paints, paintbrushes, naturally wired wire, and optionally a hot glue gun.
How should I store my pine cone pumpkins?
Store your pine cone pumpkins in a cool, dry place and avoid exposure to moisture to ensure they last longer.
Can I clean these pumpkins?
If your pine cone pumpkins get dusty, gently wipe them with a dry cloth. Avoid using water as it may ruin the paint.
How long does this craft take to complete?
You can expect to complete this craft in about 30 to 45 minutes, including drying time.
CONCLUSION
The Pine Cone Pumpkin Craft is an easy, budget-friendly DIY project that brings seasonal charm into any home. With simple materials and straightforward steps, even beginners can create these adorable decorative pieces. It’s a perfect way to express creativity while crafting something beautiful for your home or as a thoughtful handmade gift. We hope you’ll give this easy craft idea a try, and we’d love to hear about your experience or see your finished pine cone pumpkins!